How to Upload Files
This feature is only available in NetFUNNEL On-Premise version.
After creating or modifying a waiting room, you need to download the waiting room files and upload them to your file server so that users can access the waiting room.
Step 1: Access Upload Screen
Click the Upload Button for the waiting room you want to upload in the waiting room list.
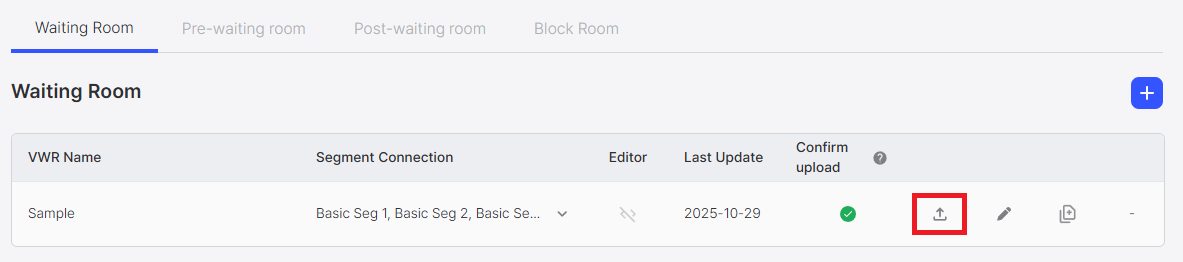
This opens the upload screen where you can download and manage waiting room files.
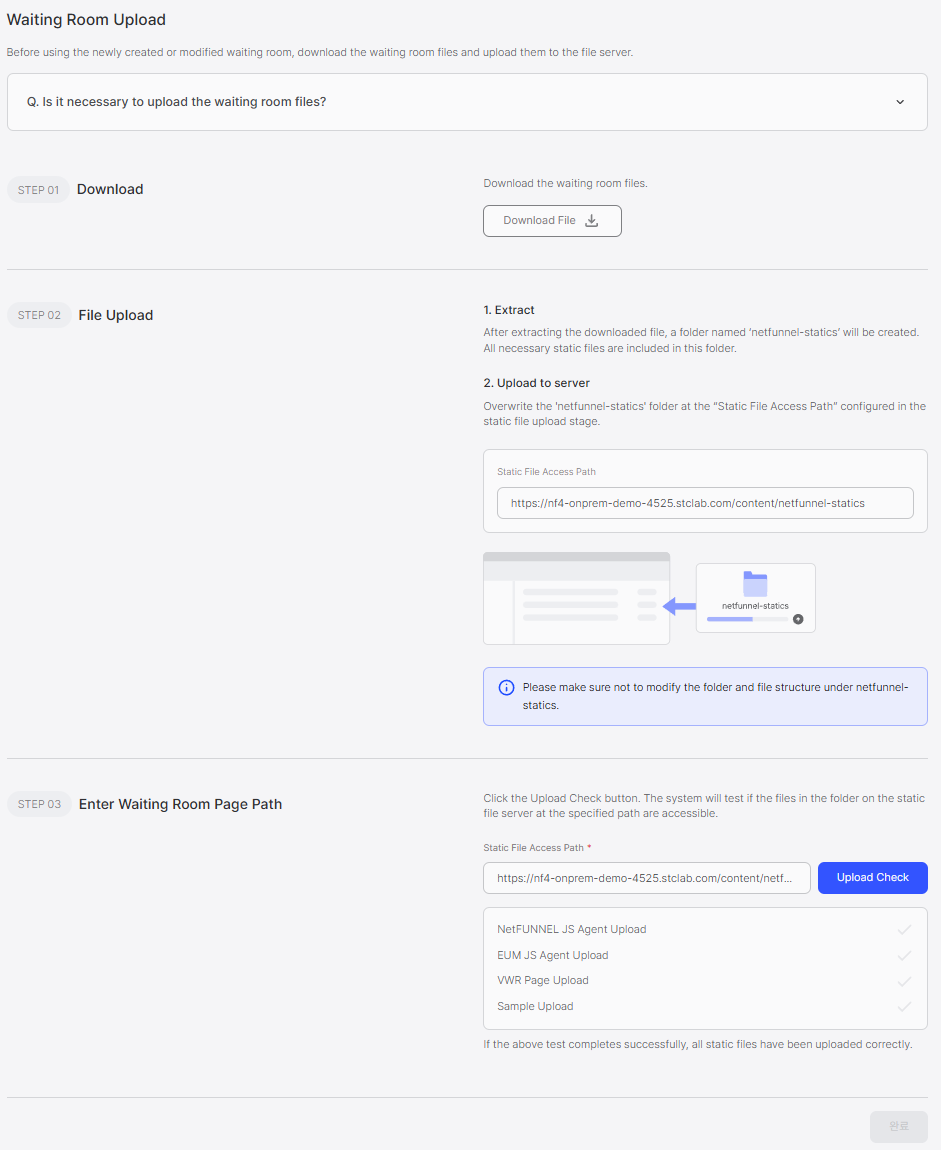
Step 2: Download Waiting Room Files
Click the Download File button to download the waiting room files as a compressed file.
The downloaded file contains all the static files needed for the waiting room to work properly.
Step 3: Extract and Upload to Server
Extract the Downloaded File
Extract the downloaded file. You'll see a folder named netfunnel-statics containing all the necessary static files.
Upload to Your File Server
Upload the entire netfunnel-statics folder to your file server at the Static File Access Path that you configured earlier.
Keep the folder structure intact! Do not modify or reorganize files inside the netfunnel-statics folder, as this may cause the waiting room to malfunction.
Step 4: Verify the Upload
After uploading the files, click the Upload Check button to verify that everything is working correctly.
The system will automatically test whether the uploaded files are accessible:
- NetFUNNEL JS Agent Upload - Verifies NetFUNNEL JavaScript files
- EUM JS Agent Upload - Verifies EUM JavaScript files
- VWR Page Upload - Verifies waiting room page files
- Sample Upload - Verifies sample files
If all tests pass successfully, your waiting room files have been uploaded correctly and are ready to use!
Checking Upload Status
You can check the upload status anytime by looking at the Confirm upload column in the waiting room list:
- ✓ (Checkmark icon): The uploaded files are accessible and working correctly
- ✗ (X icon): There's an issue accessing the uploaded files - you may need to check your file server configuration